How to Anonymize Your Statements

Step 1
Click on UPLOAD button at the top right of the menu.

Step 2
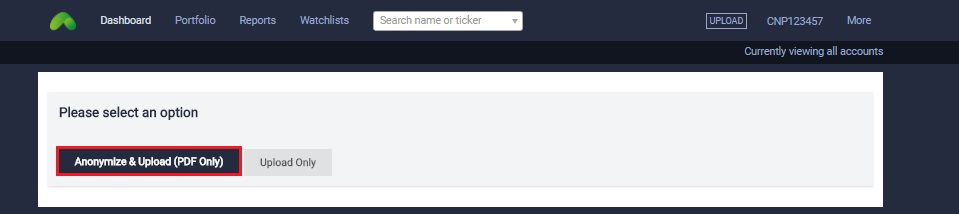
Click on the *Anonymize & Upload button.
Step 3
Click on Select a File. (Multiple files selection is allowed)
Step 4
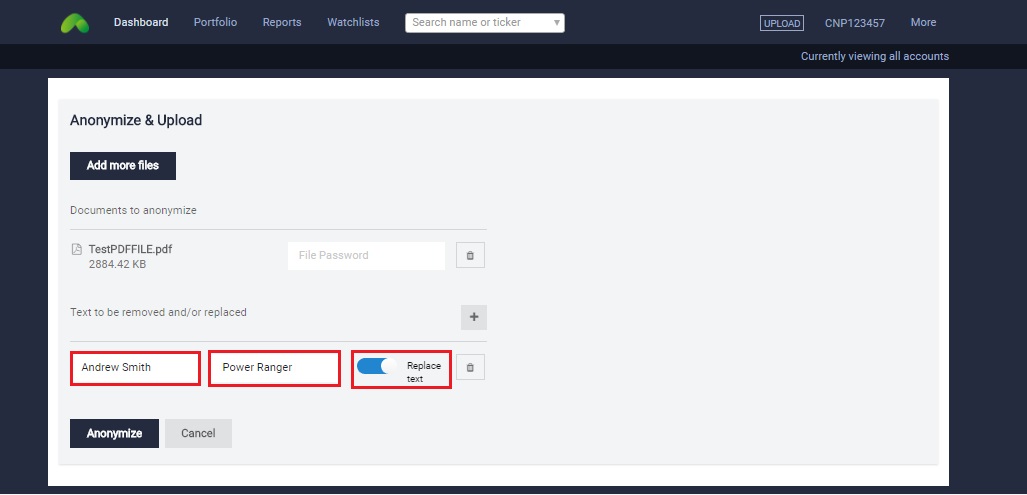
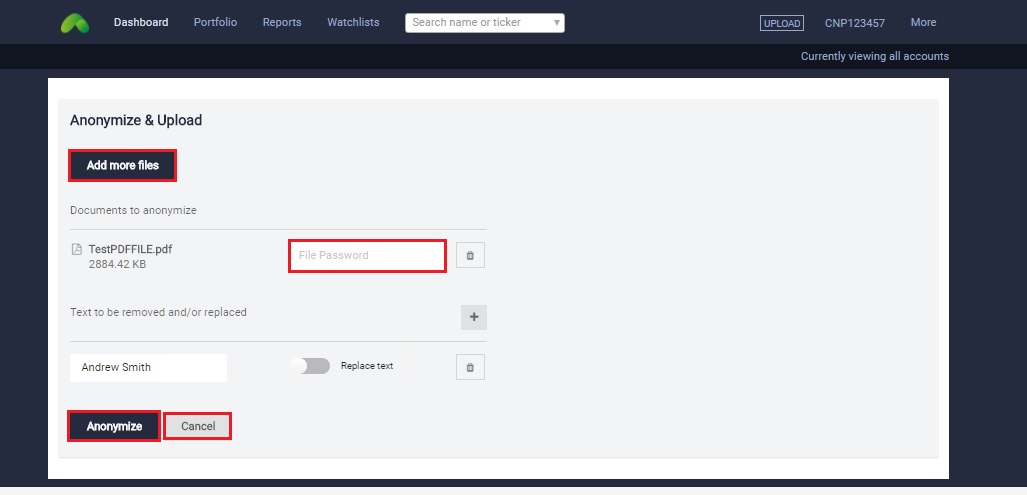
Switch on Replace text and fill in text to replace it.
Step 5
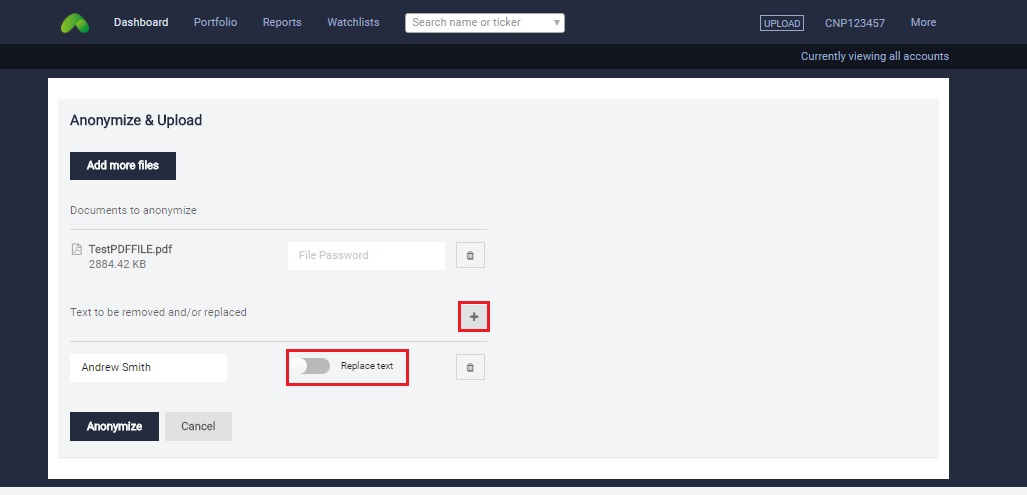
To remove text instead simply switch off the Replace text switch and to add more text field in, click on the + button.
Step 6
Click on Anonymize to continue or Cancel to stop the process. Note that you are able to add in more file(s), if you wish to, by clicking on the Add more files button. For all password protected files the file password field must be filled. *Please note that the anonymized file(s) will not be password protected.
Step 7
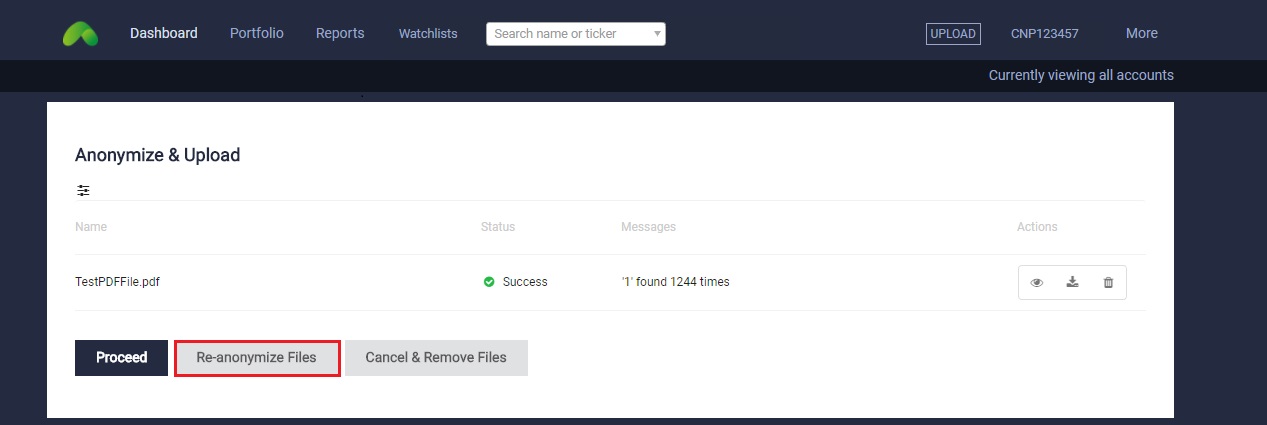
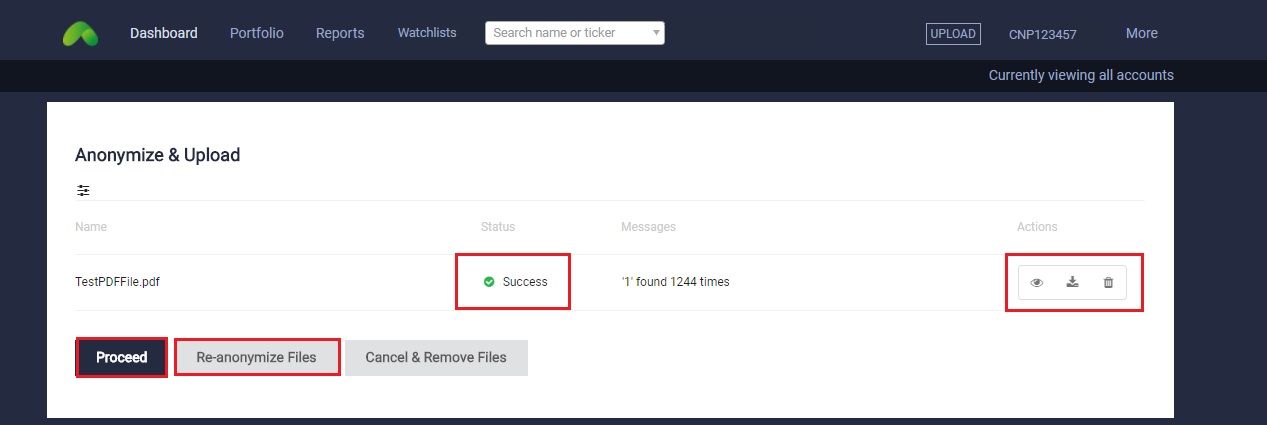
After you click on Anonymize you will be re-directed to the page you see below. Status tells you if your files were successfully anonymized or not. You can find out more in the Anonymized Status drop-down list below. Messages tells you how many times the word that you are anonymizing is found in that particular file, in this case “1” was found 1244 times in the file that was anonymized. Actions shows you three different icons, the Eye icon allows you to view your anonymized statement, the Download icon allows you to download the file and the Trash icon let you delete the file. Click on Proceed to move on to the Upload phase.

Step 8
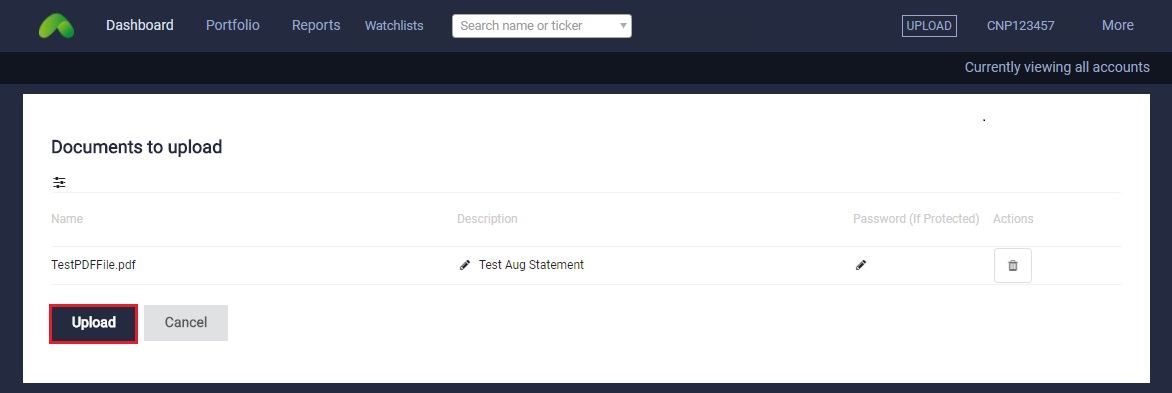
Once you reach the upload phase, you will be able to see the page below Description(Optional), you are able to add file description suited to your preference in the column, however if you wish for the file name to remain the same you can simply leave the column blank. For password protected files you are required to re-enter the password in the password column. Note that on this point you are still able to delete the file(s) if you wish to by clicking on the Trash icon.

Step 9
Click on *Upload.
Result
a. Anonymization Successful
When the Anonymization Status reflects Successful it means that the process is completed. You are then allowed to view/download/delete the file(s). The Proceed and Re-anonymize Files button will also be available for your usage.
b. Anonymization Failed
There are various reason that may lead to this. Some examples are, the file(s) might be corrupted or the password was not filled in for password protected file(s). If you are unable to resolve this issue, kindly drop us an email or talk to us via Canopy chat for assistance. Do note that the Proceed and Re-anonymize Files button will be disabled until the failed file(s) are remove from the list.
Re-anonymization
Re-anonymization allows you to re-anonymize additional text you might have left out in already anonymized files. Simply click on the Re-anonymization Files button and repeat the anonymization process.